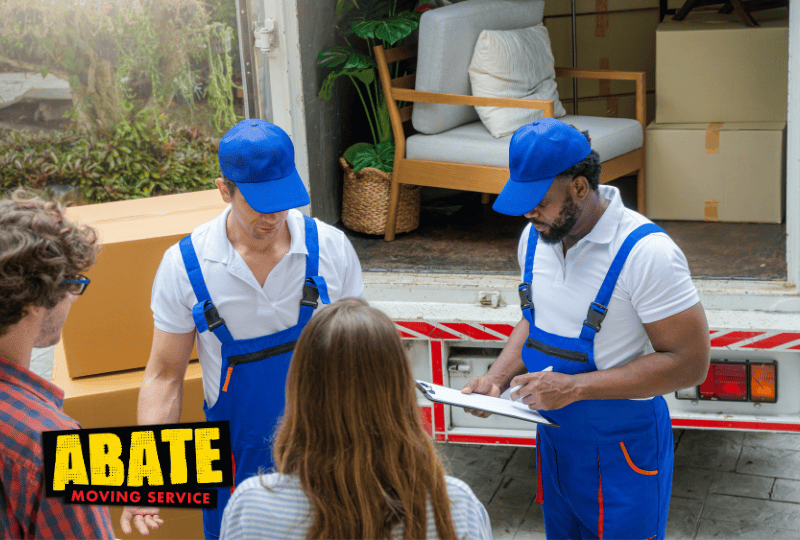
Moving large appliances takes a bit of planning, and this guide is meant to walk you through what to expect before you start. The steps ahead explain how to prepare, protect, and handle both machines so the process feels manageable, whether you’re doing it alone or getting support from a premier moving company. Taking the time to set things up carefully can prevent a lot of headaches later, especially since washers and dryers have parts that don’t always respond well to rough handling.
Assessing Your Washer and Dryer
Before anything is lifted or unplugged, it helps to look closely at both appliances. Check the exterior for dents or loose pieces that could shift during the move. The cords, hoses, and connections deserve attention too, since worn spots or loose fittings can cause trouble once the appliances are on the road. It’s also wise to measure each machine and compare those measurements with the hallways and door frames in the new place. Some units have delicate features that need extra care, and noticing them early makes the rest of the job easier. A few minutes spent evaluating the condition of the washer and dryer can prevent avoidable damage later.
Gathering Necessary Supplies
Even though the list of items is short, having the right gear ready makes the move smoother. Straps help hold the appliances steady, while a solid dolly makes it possible to guide them around corners without straining yourself. Thick blankets or padding help protect the finish and absorb small bumps. Keeping these supplies ready before you begin gives you a smoother workflow and reduces the chance of pausing midway through the move to hunt something down.
Preparing the Appliances for Moving
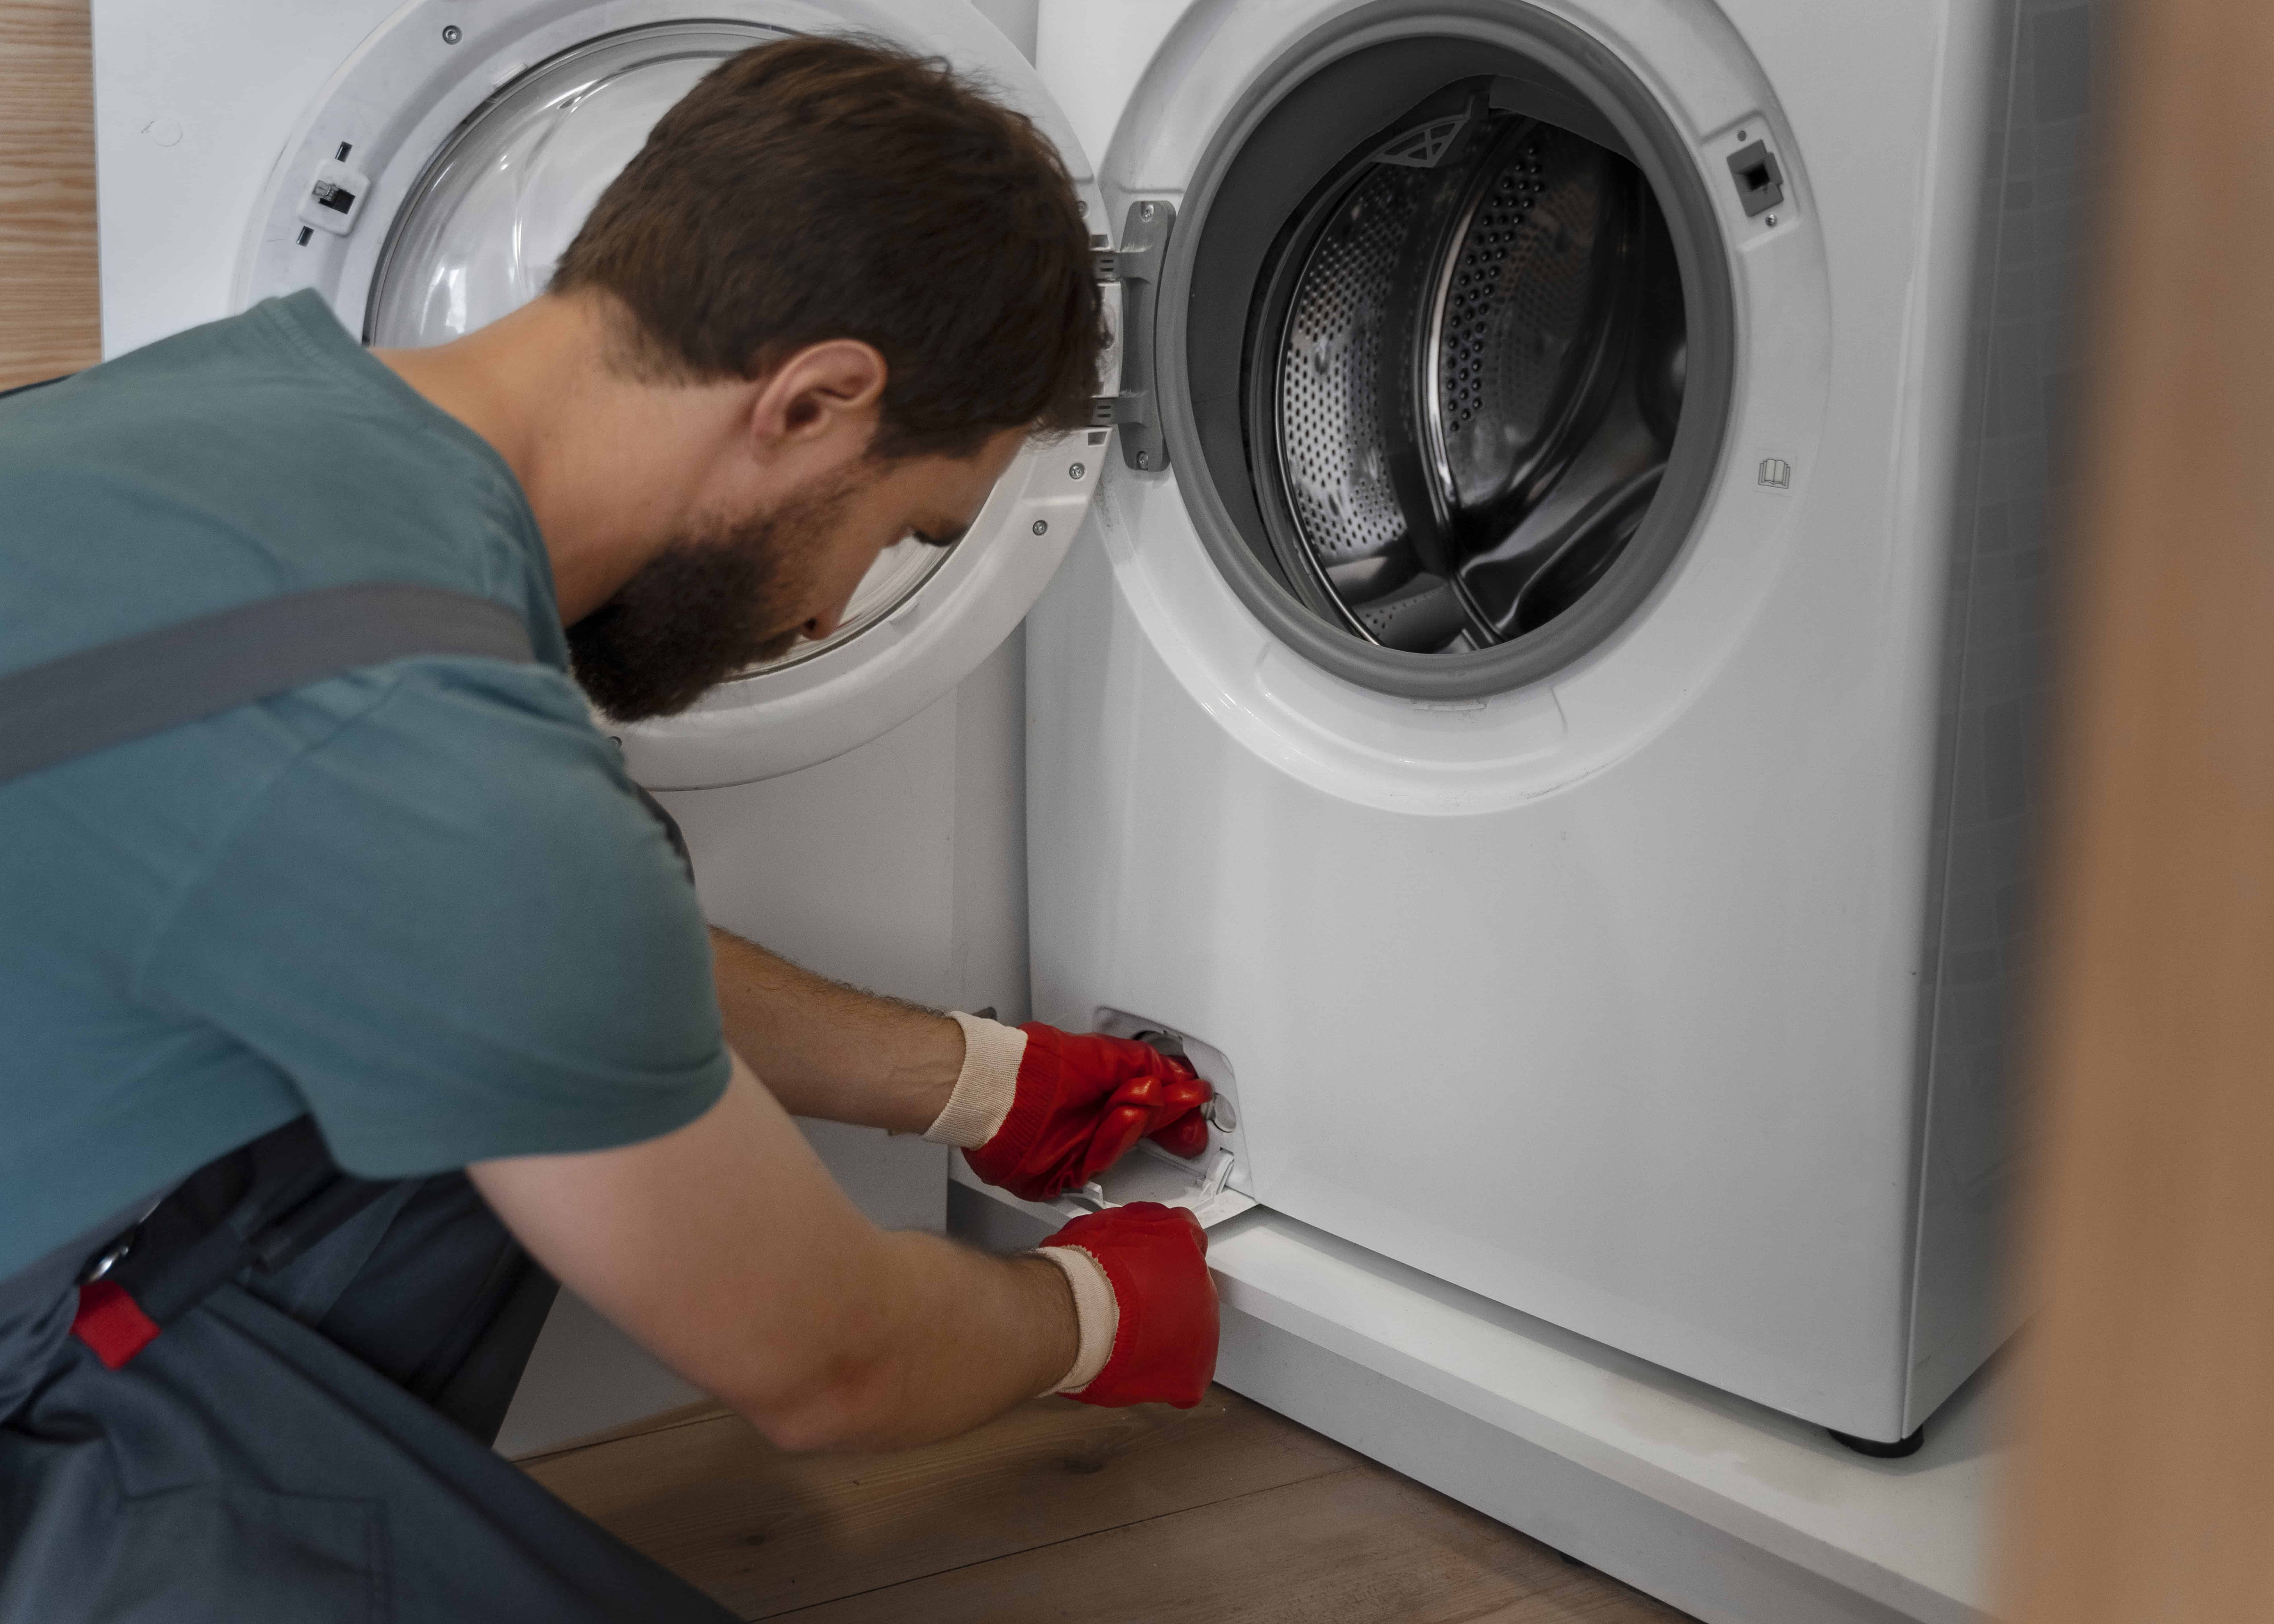
Once you have everything you need, the appliances must be set up for transport. They should be unplugged first, and the water supply to the washer should be turned off before removing the hoses. Any remaining water should be drained so it doesn’t spill later. Many washers require the drum to be secured according to the manufacturer’s instructions, often with bolts or internal supports. The dryer vent should be removed carefully so the tubing isn’t bent or torn. Doors, drawers, and loose accessories should be taped or boxed so nothing swings open or disappears during the move.
Safely Disconnecting and Detaching
Disconnecting each component is straightforward if you take your time. Unplugging everything ensures there’s no electricity involved while you work. Turning off the water supply keeps things dry once the hoses are removed. This step prevents the unexpected mess that can happen if water remains in the lines. The dryer vent usually releases with a gentle pull, but doing it slowly keeps the tubing intact. Being patient during this stage helps avoid damage to the smaller parts that usually matter the most.
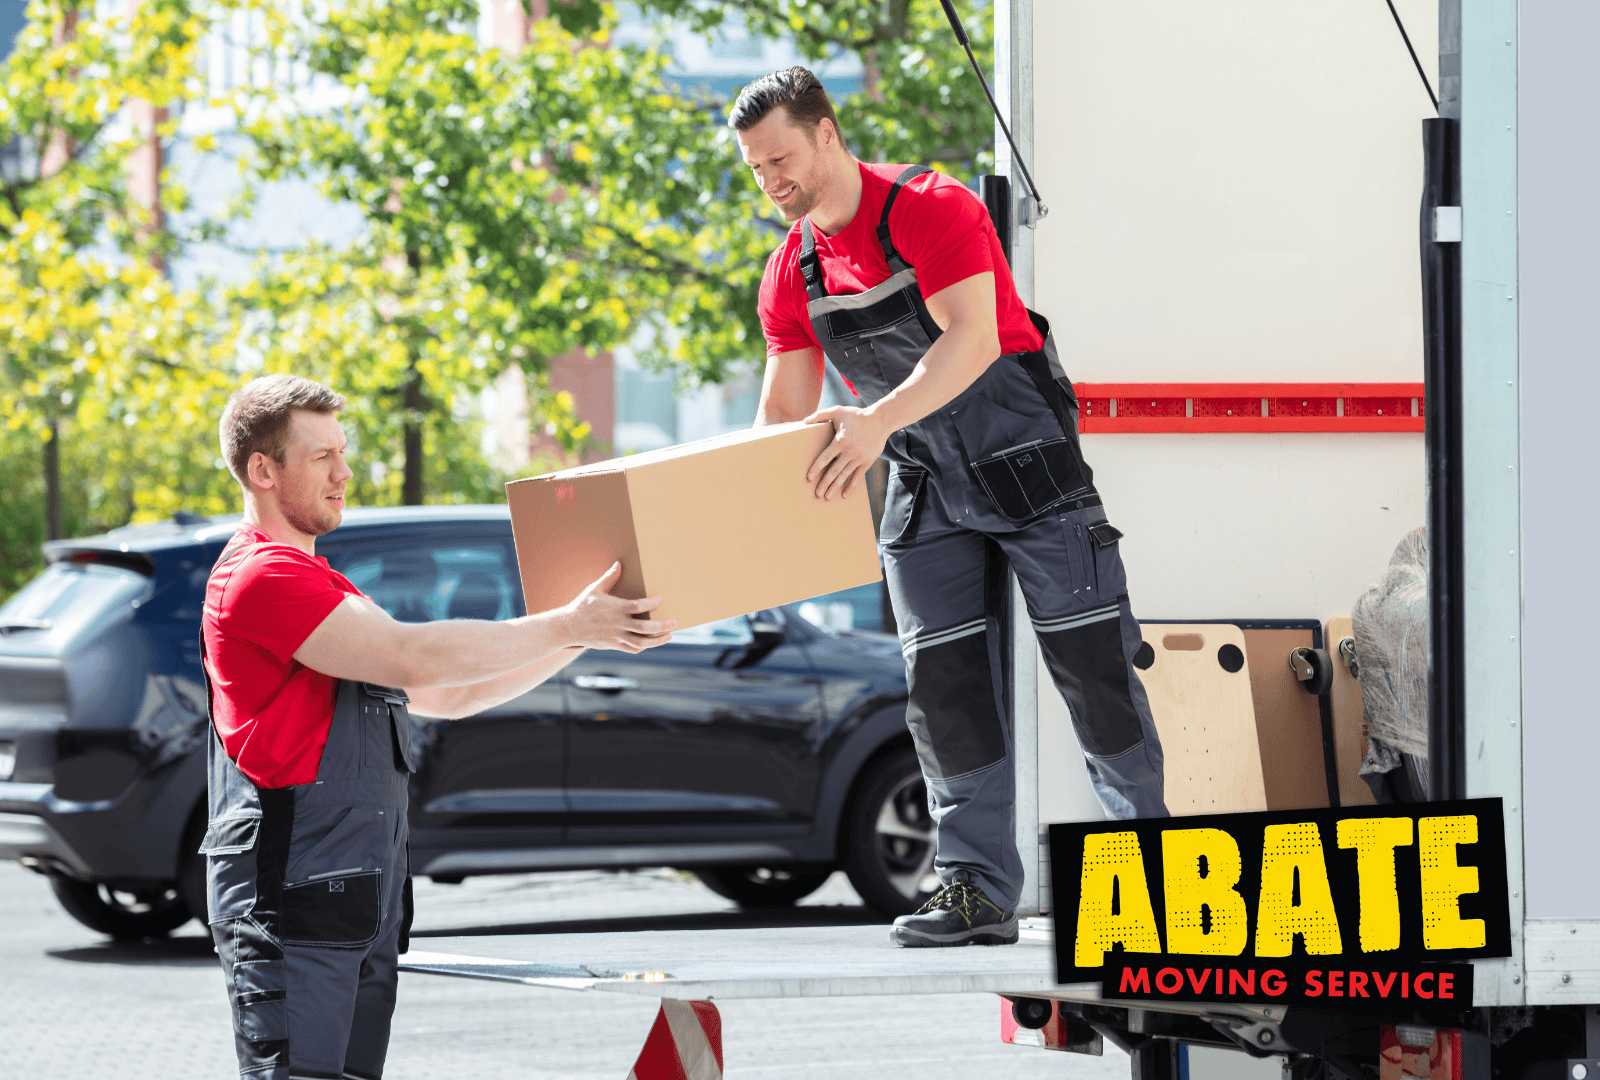
Moving the Washer and Dryer
Once the appliances are disconnected and supported, you can begin shifting them toward the exit. Make sure the washer drum remains secured so it doesn’t move inside the machine. Any loose pieces should be taped or boxed so they don’t fall out. Sharing the weight while lifting helps prevent strain, especially when working through tight corners. Before moving the dryer, double-check that the lint trap and cord are held in place. A dolly is helpful here because it keeps the machines steady and makes the path through doorways less stressful. When placing the appliances down at the new location, lowering them slowly protects the internal mechanisms.
Reconnecting and Testing Appliances
Once the appliances are in their new spots, reconnect the hoses, cords, and venting carefully. Plug the machines back in and watch for any unusual sounds or panel issues. Turning on the water supply lets you check for leaks right away. Running a short cycle gives you a quick way to see whether the washer fills and drains properly, and switching on the dryer confirms steady airflow and heat. A brief test load helps you make sure everything is working as it should before settling back into a routine.
Related Topics: