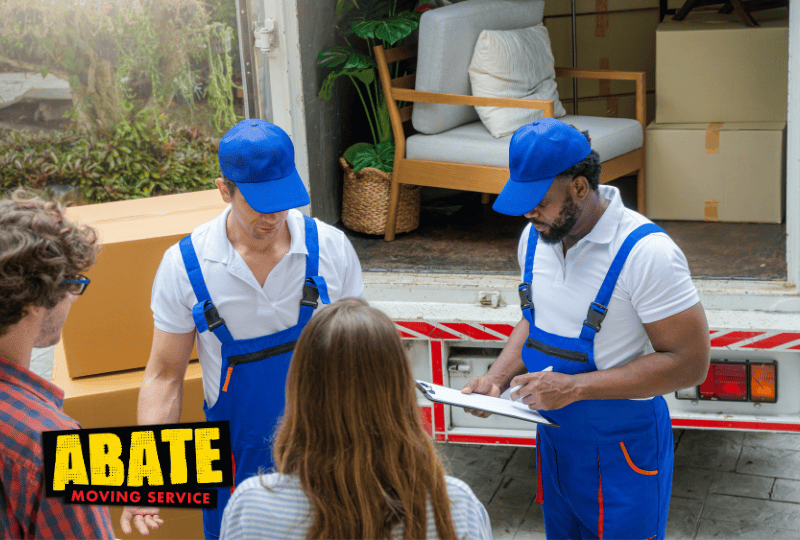
Moving picture frames is honestly one of those tasks that sounds simple until you’re staring at a wall full of them, wondering where to even start. Glass breaks, frames crack, and that photo of your grandma from 1952 is irreplaceable. If you’re hiring trusted Morgantown movers or doing it yourself, the goal is the same: get everything to your new place without turning your memories into a pile of broken glass. Here’s how to actually do it without losing your mind or your favorite pictures.
Choosing the Right Packing Materials
You can’t just throw pictures in a box and hope for the best. Acid-free paper is worth buying because regular paper can mess with photo prints over time. Bubble wrap is your friend here. Get sturdy boxes in a few sizes since frames are never one-size-fits-all. Those foam corner protectors? They look silly, but they work. Grab good packing tape too, not the cheap stuff that peels off halfway through the move. And yeah, label everything. In the future, you will thank the present you.
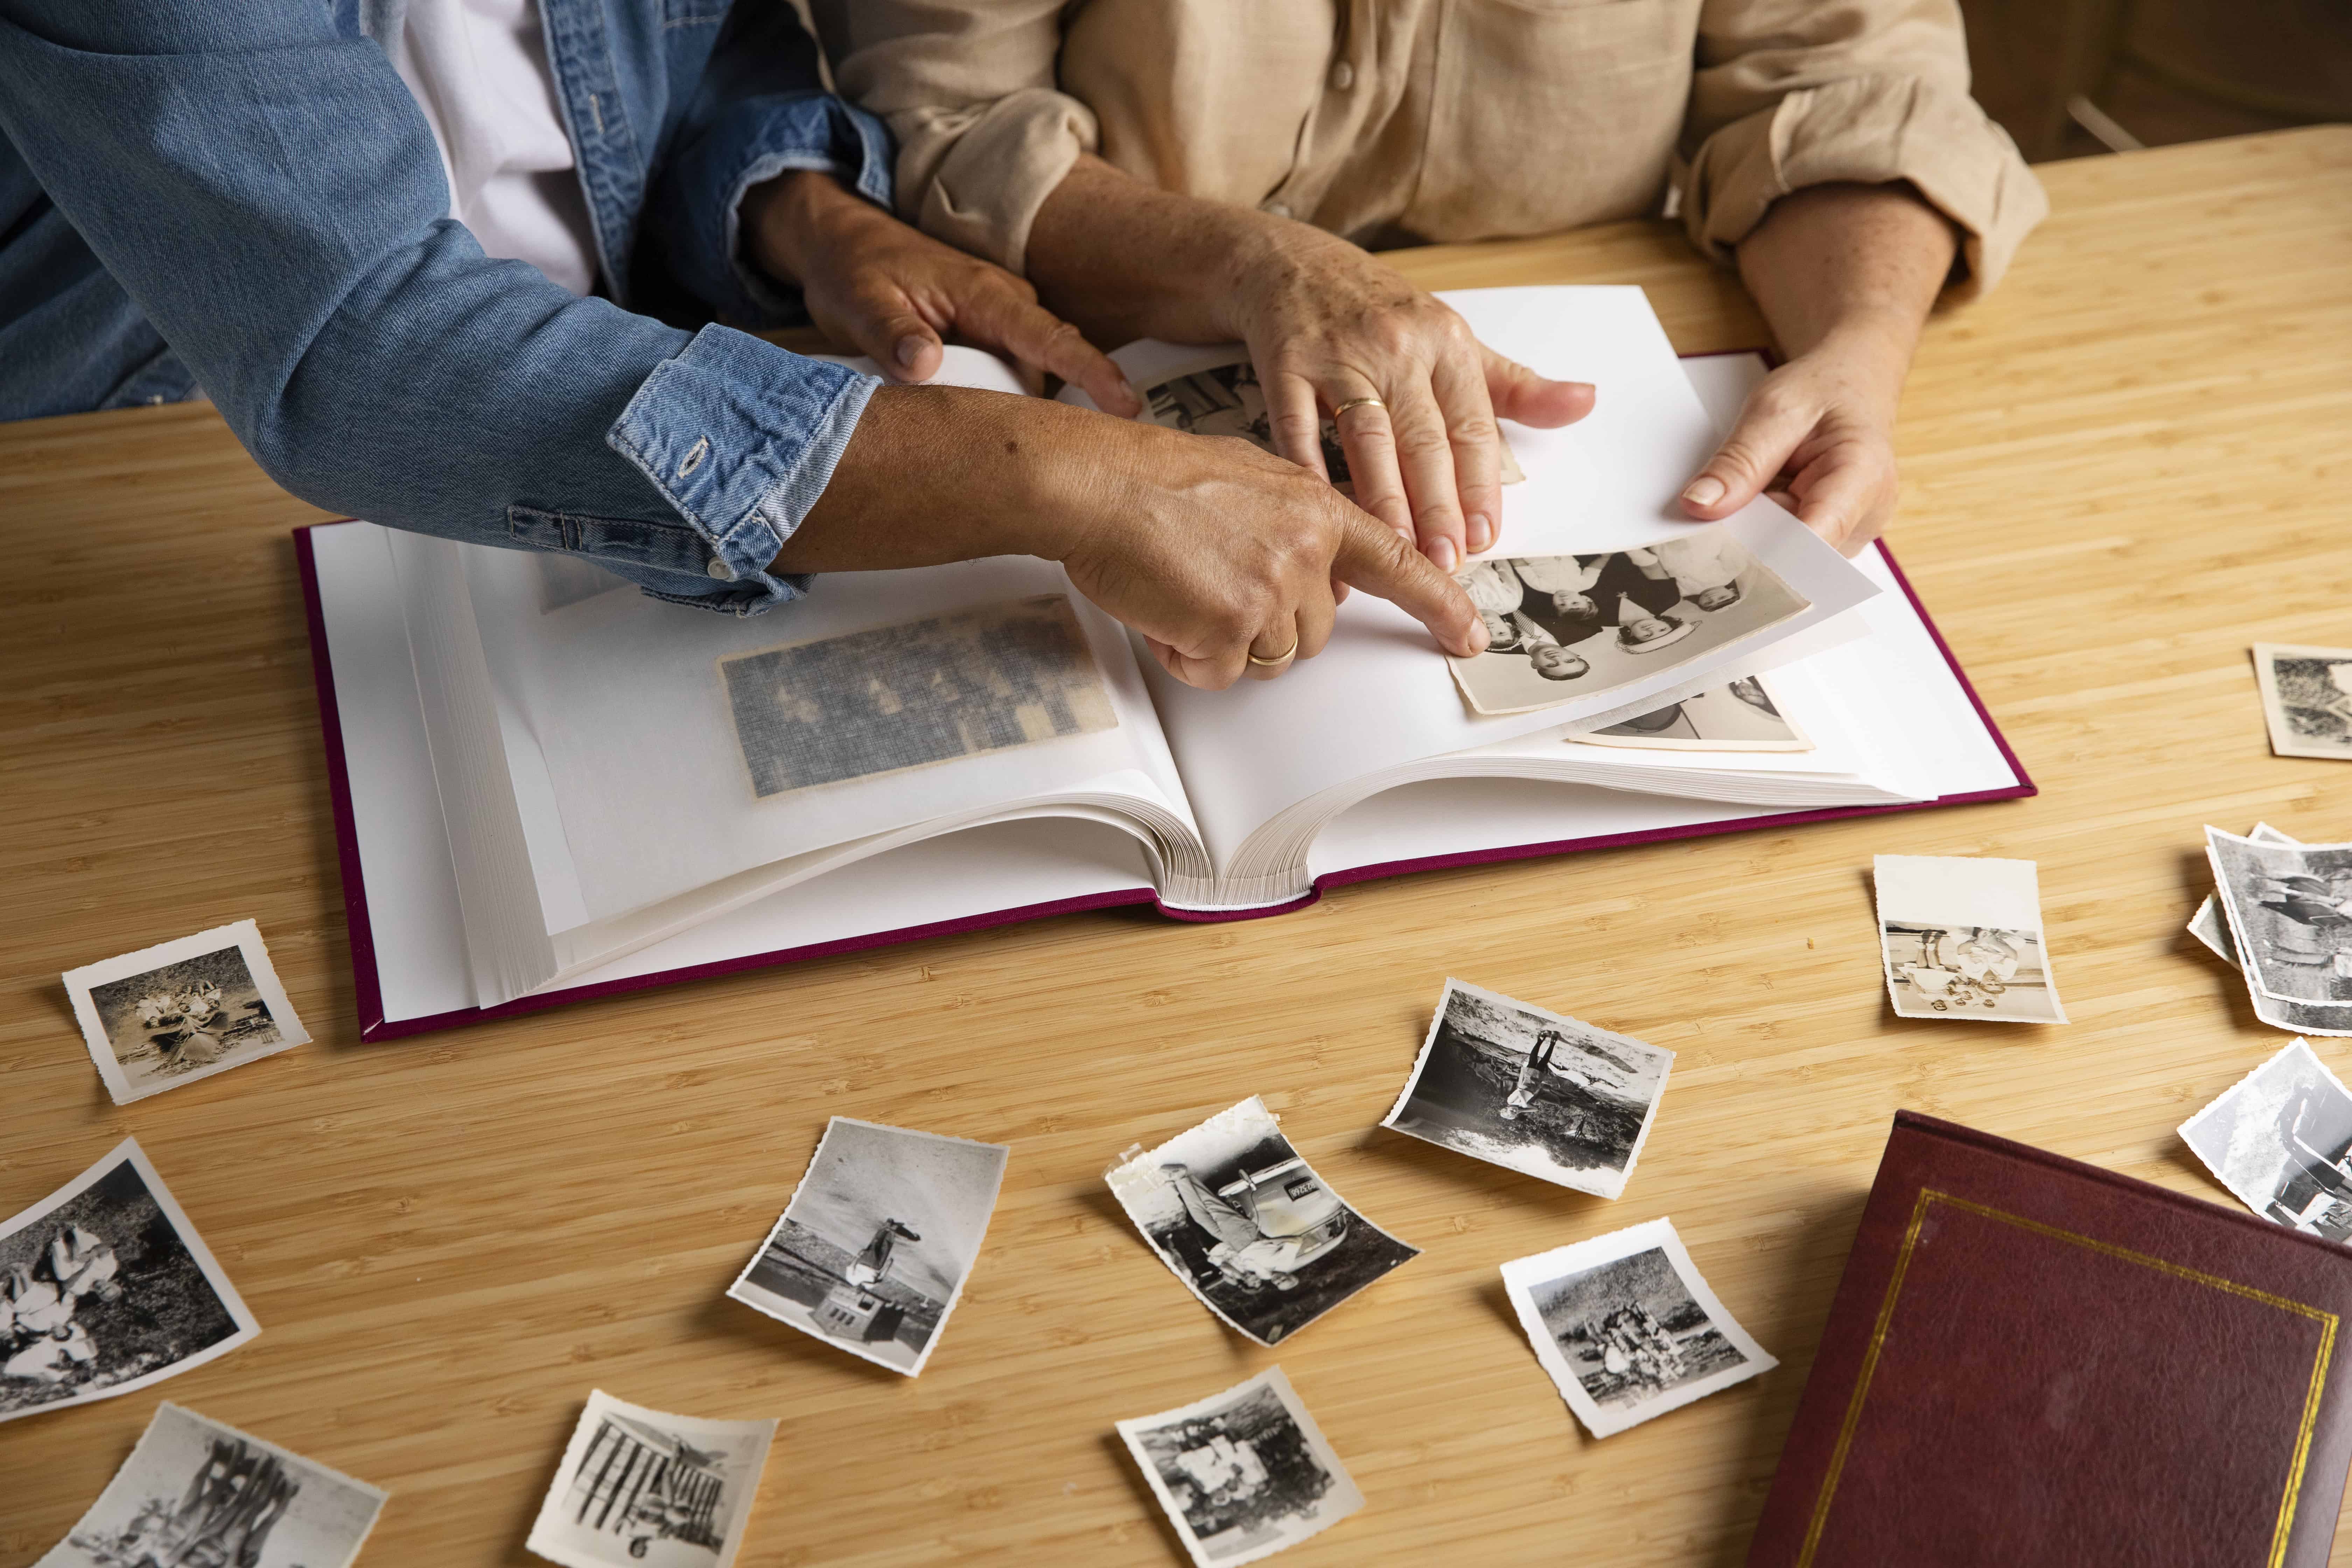
Organizing Your Pictures Before Packing
Sort things out before you start wrapping. I usually do size first because trying to pack a huge canvas with tiny 4×6 frames never ends well. Then look at what kind of frames you’ve got. Glass frames need way more protection than canvas prints. Some pictures are just more delicate than others, and those need to go in their own box with extra padding. Takes maybe ten minutes to sort everything, and saves you hours of frustration later.
Wrapping Individual Pictures for Protection
Wrap each picture completely. Not halfway, not “good enough” – all the way around. If you’re using bubble wrap, don’t press too hard because you can actually damage the image. Bigger pictures sometimes need double or triple layers. Corners get hit the most, so make sure they’re covered well. I’ve seen too many frames show up with dinged corners because someone got lazy with the wrapping. Just do it right the first time.
Securing Pictures in Boxes or Containers
Pack heavy stuff on the bottom, lighter stuff on top. Seems obvious, but people mess this up constantly. Pictures should fit snug in the box but not be crammed. Fill empty spaces with bubble wrap or those packing peanuts that get everywhere. Cardboard between pictures stops them from scratching each other up. Tape the box shut really well – not just one strip across the top. I’m talking multiple strips because boxes have a habit of opening at the worst possible moment.
Labeling Boxes for Easy Identification
Write on your boxes. Seriously. “Fragile – Pictures” on the top and sides, so it’s visible from any angle. Which room they go in helps too. You can get fancy with color-coded tape if you’re moving a ton of stuff – blue for bedroom, green for living room, whatever works. The moving crew (or your friends you bribed with pizza) can’t read your mind, so make it obvious what’s inside and that it needs careful handling.
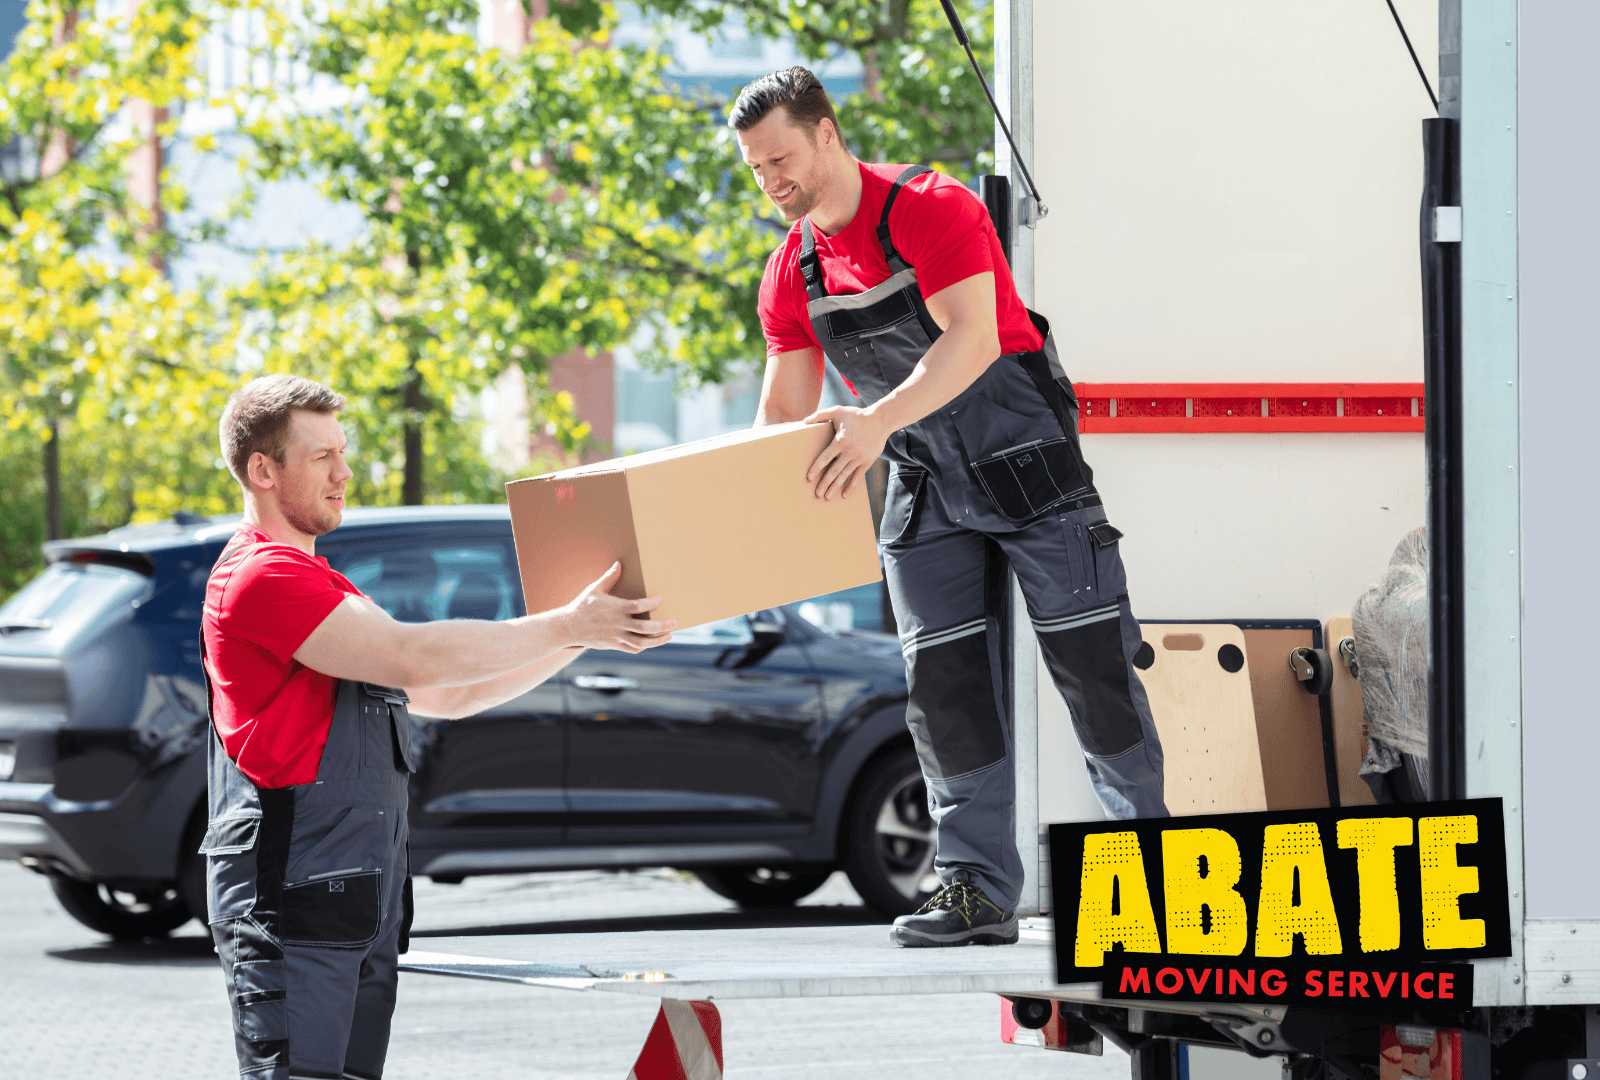
Transporting Pictures Safely to Your New Home
This is where your packing job either pays off or doesn’t. After everything’s wrapped and you’ve added cardboard for extra protection, pack them in boxes that actually fit. Fill gaps so nothing moves around. Seal everything with good tape and mark it clearly. When you load the truck or car, keep boxes upright instead of flat. Wedge them between other items so they stay put during the drive. The last thing you want is boxes sliding around back there while you’re taking corners.
Related Topics: