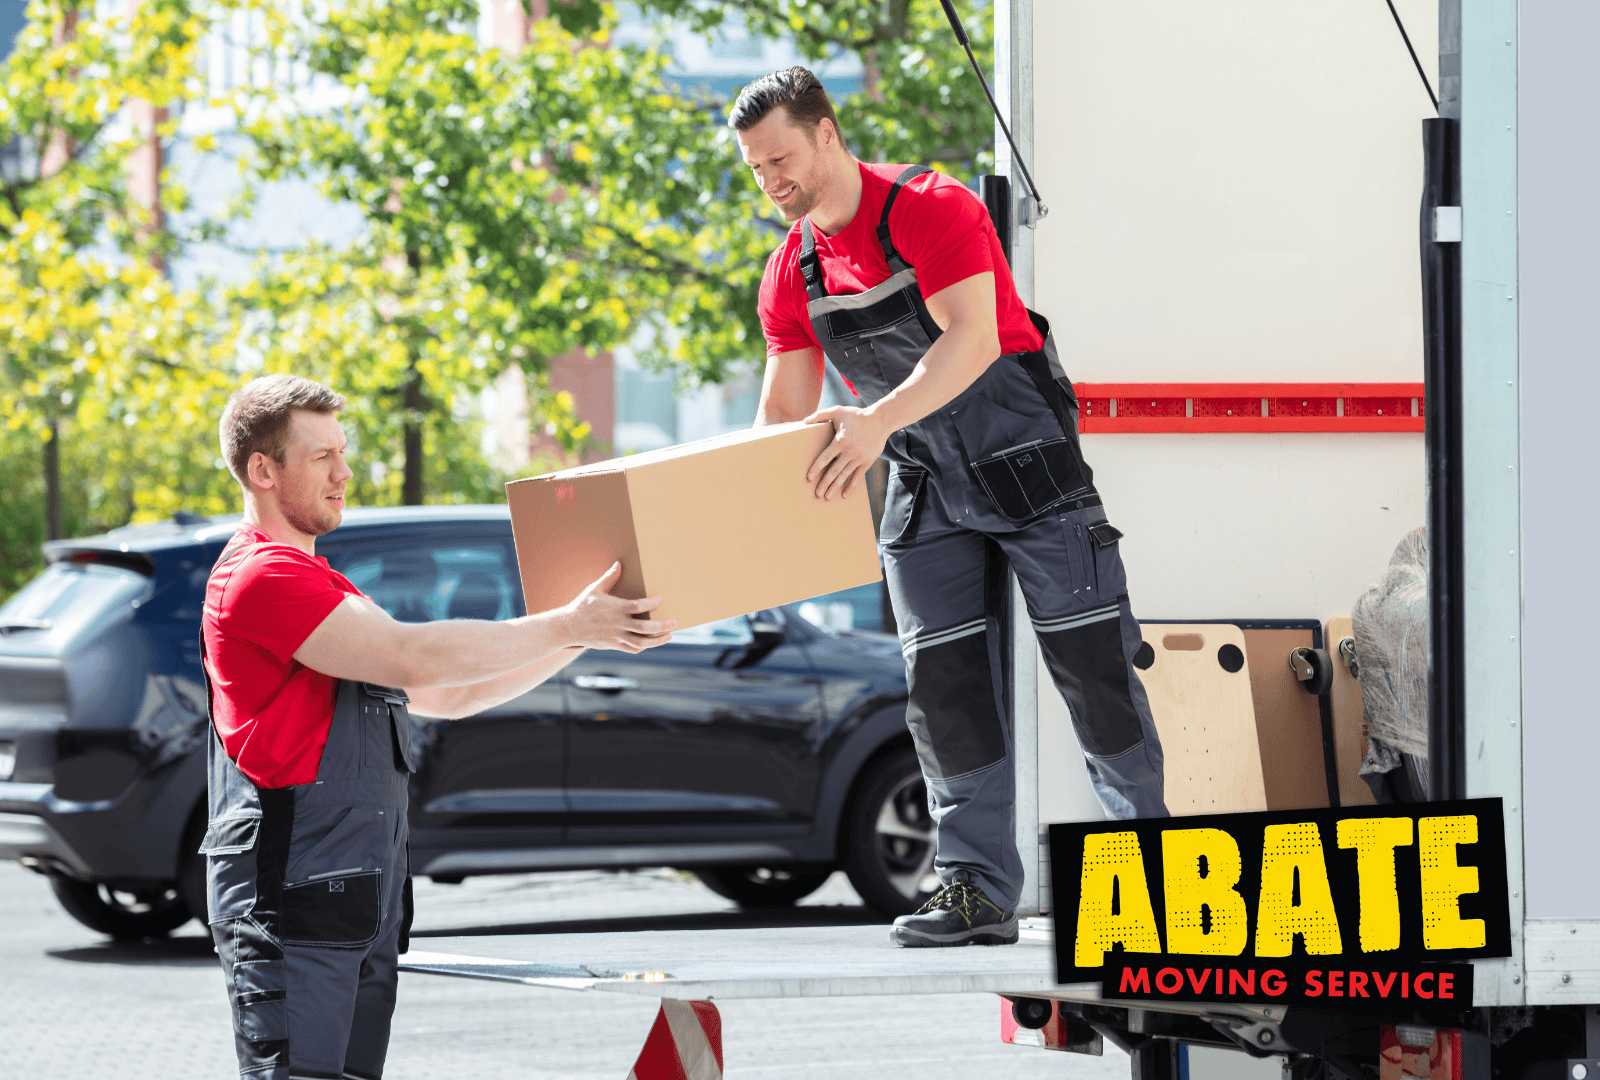
Packing plates for a move takes planning, patience, and attention to detail. An experienced moving company always emphasizes the importance of using proper materials and handling with care to avoid damage. The process involves selecting strong boxes, wrapping each plate individually, cushioning layers inside the box, and securing everything tightly to prevent shifting during transit. This guide explains how to prepare your materials, pack efficiently, and label correctly so your dishes arrive safely and intact.
Choose the Right Packing Supplies
Start by choosing the proper materials for the job. Use sturdy boxes designed specifically for dishes, which often include built-in compartments to separate each plate. This design reduces movement and lowers the risk of cracks or chips. You’ll also need plenty of packing paper, bubble wrap, and strong packing tape. Wrap each plate individually to prevent surface damage and line the bottom of the box with several layers of packing paper for cushioning. Fill every gap between plates and the box walls to keep them secure during the trip. Using the right supplies is the foundation of safe and successful packing.
Prepare Your Packing Station
Setting up a packing station helps you stay organized and efficient. Choose a sturdy, flat surface such as a table or countertop where you can comfortably work. Arrange all supplies, boxes, paper, bubble wrap, tape, and markers, within easy reach. A well-lit space helps you see clearly while wrapping and taping. Keeping your area organized prevents confusion and allows you to focus on properly protecting each plate. With a clean workspace ready, you’ll pack more carefully and save time in the process.
Wrap Plates Individually
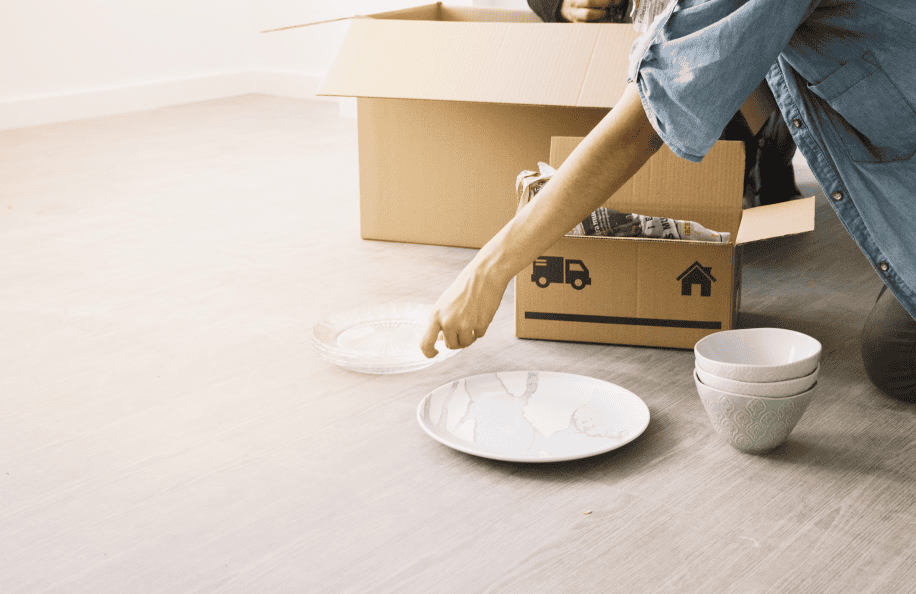
Each plate should be wrapped separately to reduce the risk of scratches or chips. Place a sheet of packing paper or bubble wrap on a flat surface, set the plate in the center, and fold the wrap’s corners toward the middle until the plate is fully covered. Secure the wrapping with a small piece of tape so it doesn’t come undone. Repeat this process for every plate, ensuring each one has its own protective layer. This method creates a barrier between surfaces, reducing friction during movement.
Layer Plates in Boxes
Once the plates are wrapped, it’s time to layer them in the box. Start with a thick cushion of packing material at the bottom to absorb impact. Place the heaviest plates first so the lighter ones don’t bear the weight. Lay them flat rather than on their sides to reduce pressure points. Add a layer of packing paper or bubble wrap between each plate to prevent contact. Continue stacking in layers until the box is full, leaving just enough room at the top for one more protective layer before sealing. Taking care to evenly distribute the weight makes carrying and loading much easier.
Fill Empty Spaces
After all plates are packed, inspect the box for any gaps. Empty spaces can cause shifting, which often leads to cracks or chips during transport. Use crumpled paper, foam, or small pieces of bubble wrap to fill every corner and side. This keeps the plates snug and secure inside the box. Add a soft cushion on top to protect from downward pressure once the box is stacked in the moving truck. Ensuring there’s no room for movement helps maintain stability from start to finish.
Seal and Label Boxes
Once everything is packed, seal the boxes securely with heavy-duty packing tape. Reinforce the bottom to handle the weight and double-tape the top for extra protection. Label each box with “Fragile” and include a brief description, such as “Kitchen – Plates.” Marking the boxes clearly makes it easier to organize them during unloading and helps movers know which boxes require gentle handling. When unpacking, this labeling system will also save time and prevent confusion. Careful sealing and labeling complete the process, giving you peace of mind that your plates will arrive safe and undamaged.
Related Topics: